Thursday 30 January 2014

Dear Lizzy 5th & Frolic


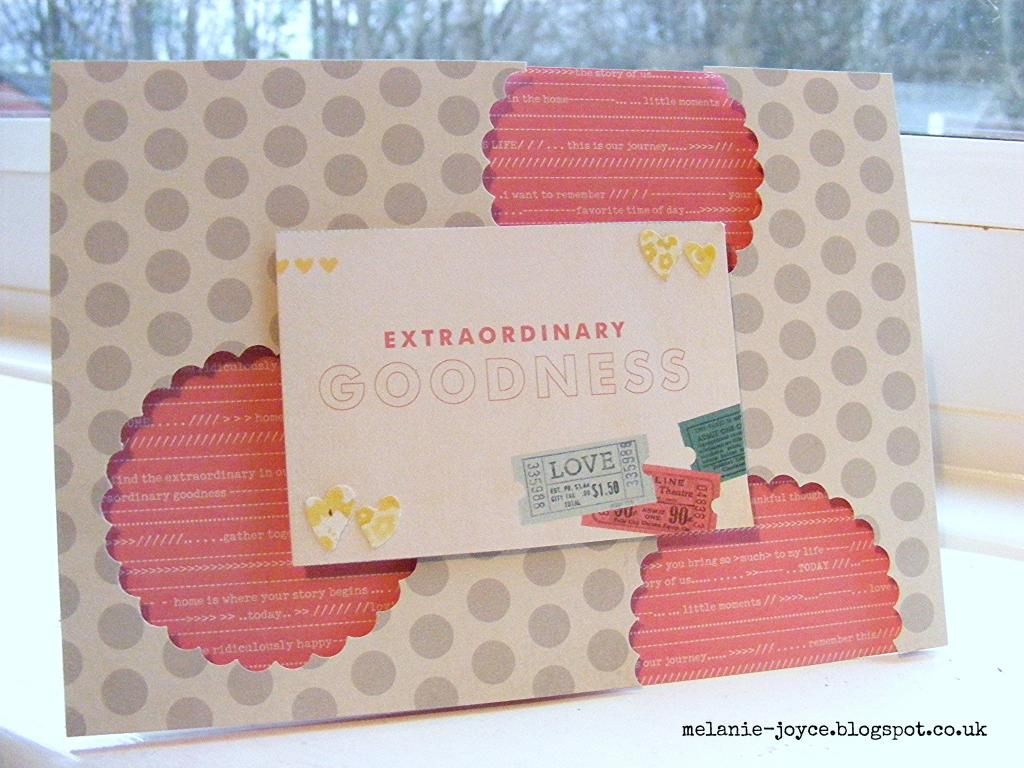
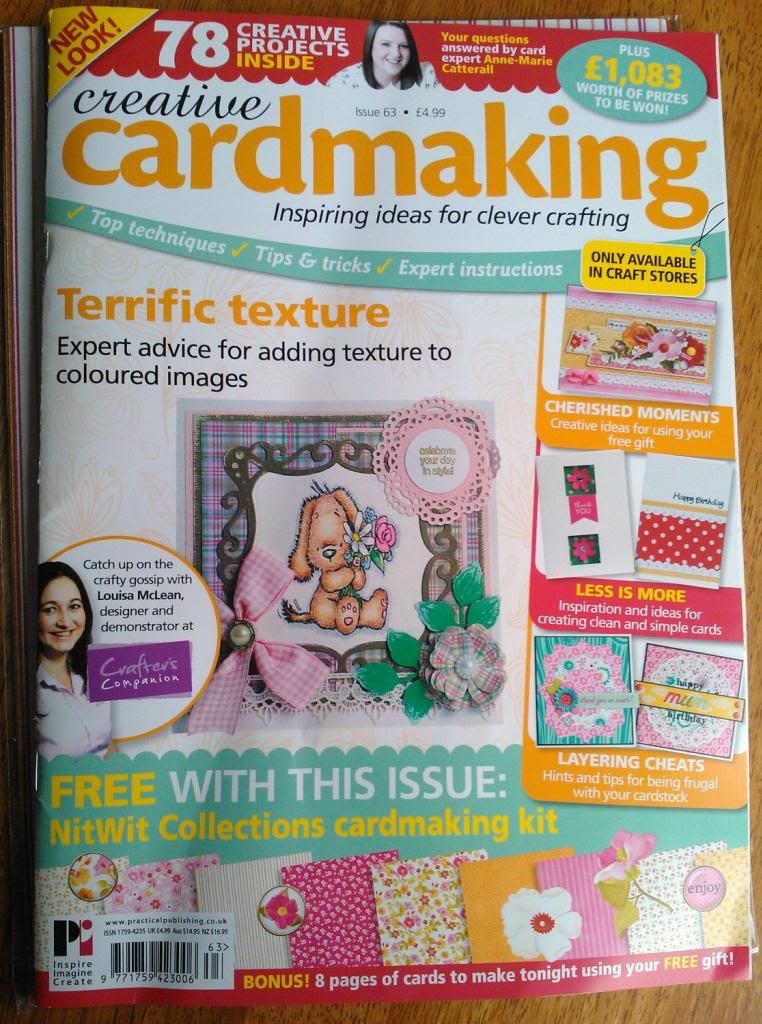
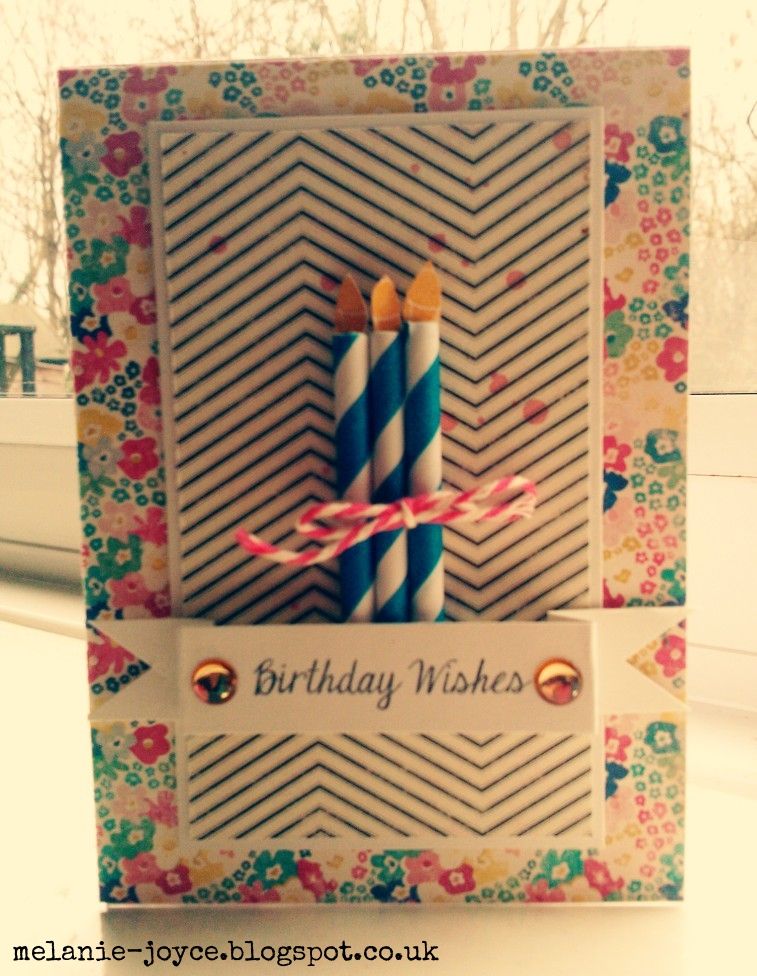
A few weeks ago I came across some fabulous 6x6" paper packs in TK Maxx. They were only £2.99 each so I had to have them both - one of them was the Dear Lizzy 5th & Frolic paper pack by American Crafts, which is what I used to make this card. I also used a scalloped circle punch to create the contrasted background, but really everything else is from the paper pack!
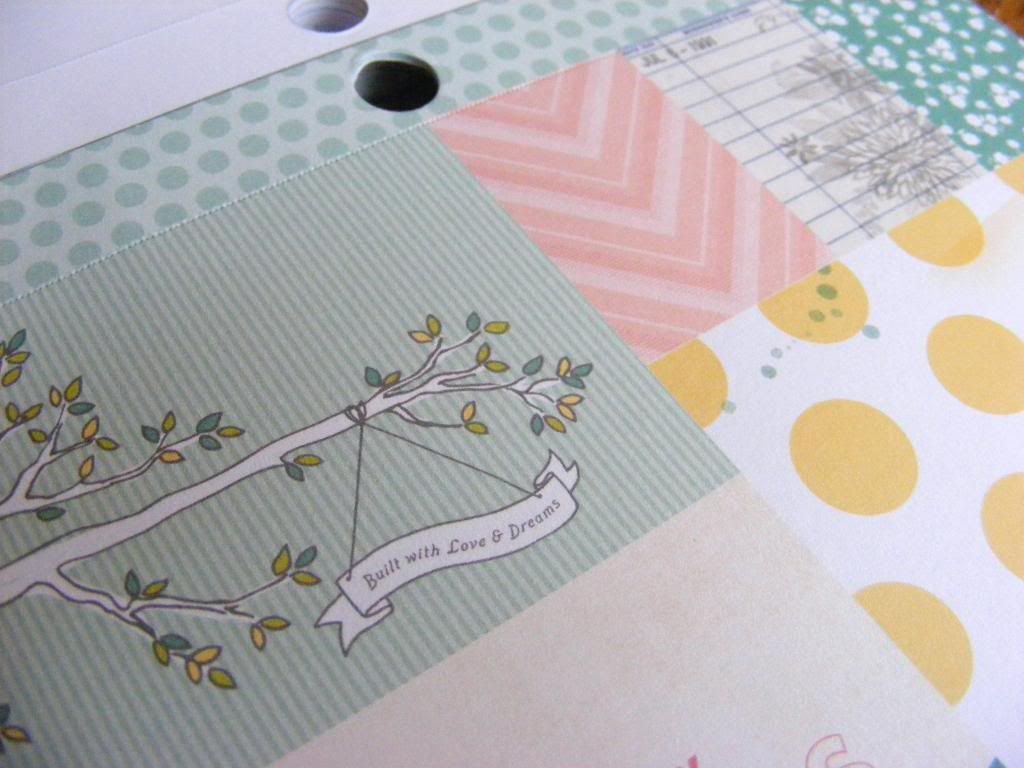
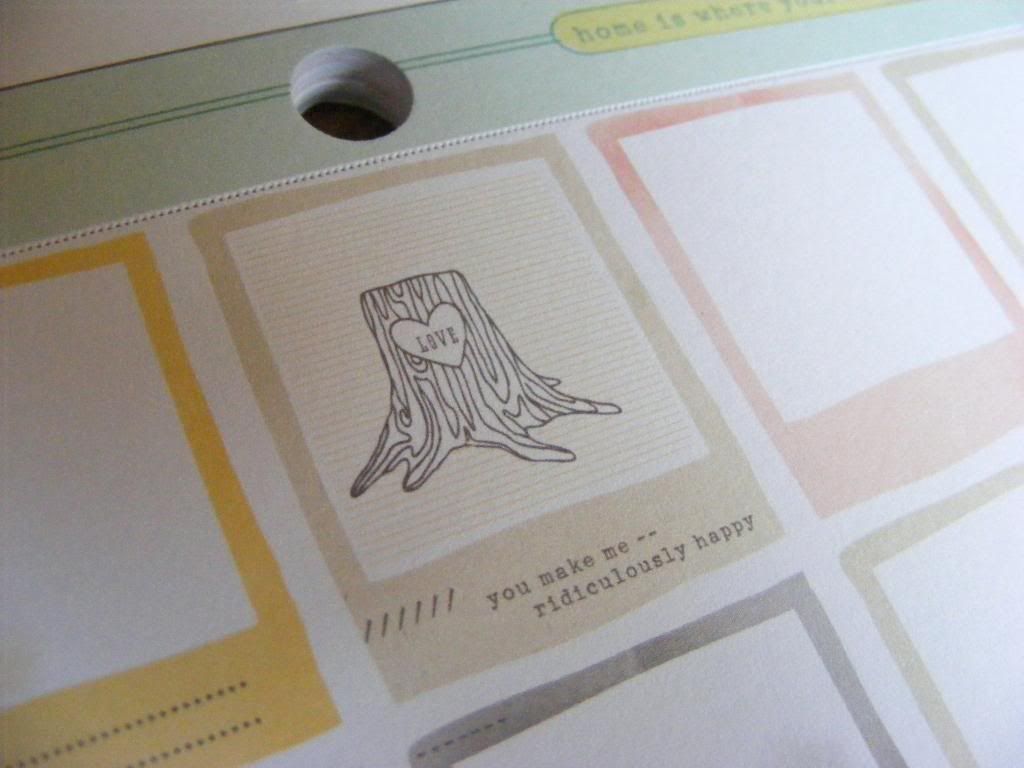
I really love the mix of bright and muted colours in this collection, and whilst designs like this are primarily aimed at the scrapbooking market (this is simply a scaled-down version of the full 12x12" collection), you can use it to create some lovely cards too. Here are just a few of my favourite details. The tree branch would be great for a beautiful card in a hurry.
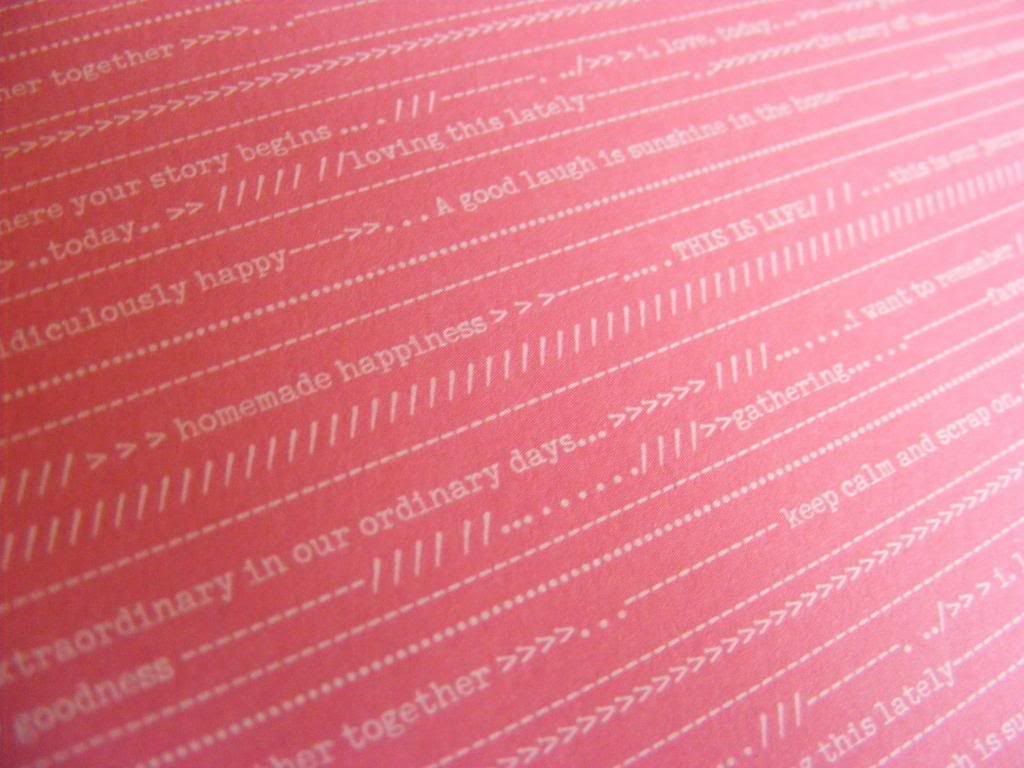
I used this lovely pink word-patterned paper for my card, which really stands out against the grey dots. The typewriter font is still soooo popular, even though this paper pack was actually released last year, and this particular paper is already proving very versatile.
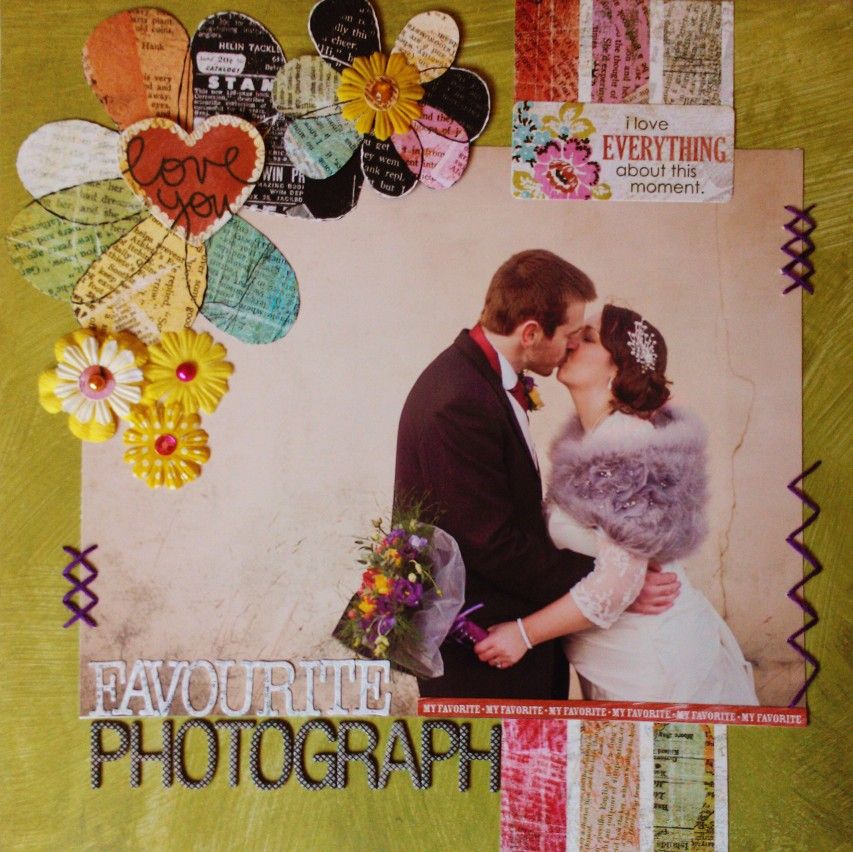
There are some really cute little details like this 'love' tree stump. I can see this being fussy-cut and attached to a ribbon using a mini peg.
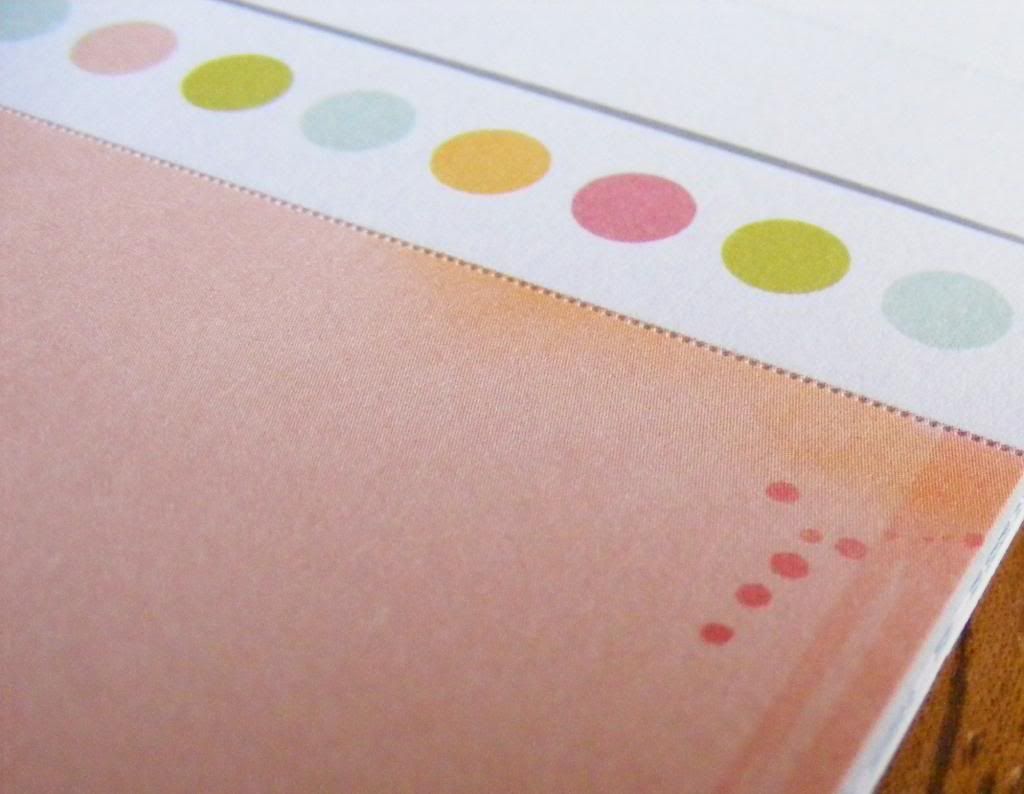
I LOVE this colour. It works so well with dusky pink and soft yellow. It will make a fresh and feminine little New Home card... I've already got a design in mind!
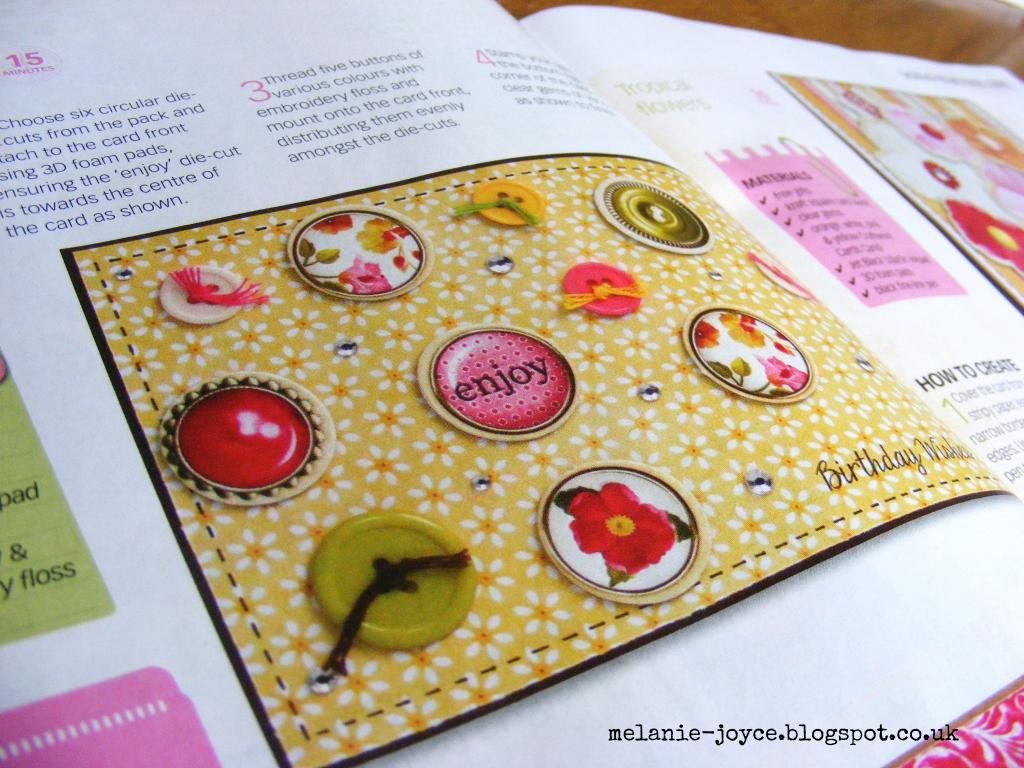
Can you imagine these little clipboards fussy-cut and decorated with gems and flowers, maybe even a little bit of shimmer mist or a paint splatter? Voila, lovely card!
This little detail demonstrates the little inky effects on these papers and embellishments... lush! I will probably manage to rustle up a good 10 or 12 cards using these lovely papers, so I can't help but feel like I've got a bargain! Now, I must be going... off to TK Maxx! ;)

Tuesday 28 January 2014

Published again!

I've been published again! I popped up in Creative Cardmaking 63 earlier this month, demonstrating the delights you can achieve with the Nitwit Collections paper and embellishments free with the magazine. It was a huge undertaking and I had to make 12 cards for the magazine, but this one is my favourite. It can sometimes be a challenge making so many cards from just one collection, but this card demonstrates how you can make your stash stretch further by focussing on all the leftover small brad and button-type embellishments. Raise them on 3D pads and add a bit of glitz with gems for a quick yet effective design. And oh yes, the issue has been on sale since the 10th January, but still being sold in shops nationwide - so what are you waiting for?!

Friday 24 January 2014

Paper straw challenge!


I was looking through my stash yesterday (one of these days I'm actually going to organise it all, but for now everything resides in three huge canvas drawers) and came across some blue and white paper straws. I received them when I was gathering supplies for my wedding stationery and bought from a little shop on Etsy. Alas, I can't remember what it was called but the owner was lovely, handled my queries efficiently and sent samples of the rest of her stock in the post, which included these lovely straws. I had visions at the time of red and white straws in mason jars, but really this was just the result of too much Pinterest. I never did use them in the end. So, what to do with them? I thought they made great candles for a birthday card, which is what I did here, tying them together with some hot pink baker's twine and mounting them onto a monochrome background panel. It only used up one straw. So many possibilities for the rest! I think using them on a scrapbook layout could be a good option, as a raised border maybe, or a flagpole with a bunting flag stuck to the top? Or I could take advantage of the colour and trim down the length of the straws, adhering them next to each other to give an interesting water effect on a seaside-themed layout or card. It will be interesting trying to use these up!

Tuesday 21 January 2014

A return to scrapbooking

Just a quick one today - I'm drowning in housework, emails and random little jobs on my to-do list! I've been thinking about scrapbooking lately, or my lack of it to be precise. I LOVE creating layouts, but when my little pud was born I put crafts on the backburner and threw myself into motherhood. While this was lovely, it means that there's not a single scrapbook layout featuring my boy! I have whole albums upstairs full of photos of my family, and particularly my six-year-old nephew. But in my scrapbook albums, Stanley doesn't exist. When this occured to me, I had the urge to rectify the situation immediately. So, expect to see some brand-new pages dedicated to my little pudding face over the coming weeks. In the meantime, I thought I would share my favourite scrapbook page to date, which was published in Scrapbook Magazine in 2012.


I know green might be a little bit of a strange colour to choose for a wedding photograph, but the shot is very neutral and it just seemed so right. I love how the bright colours pick out the tones in my bouquet and my husband's cravat, and the green seemed to be the perfect backdrop to all these various hues. I can't wait to get back to scrapbooking!

Thursday 16 January 2014

Homemade paints

 
Last summer I made homemade paint for my messy play classes, with varying degrees of success! People asked me how I'd done it, so I thought I would share the experiences I had along the way. The messy play classes were aimed at babies from 10 months to 2 years, so I had to be careful that the materials I used were either non-toxic or, even better, edible! There are so many recipes for edible art materials online, particularly paint, but the final results will of course vary from person to person. As it was the first homemade art material I had *ever* made (I have since made play dough and moon sand and I'm finding it easier each time!), I had a trial run first - using my little pud and the little boy living next door as guinea pigs! I love the Imagination Tree blog and had first seen edible fingerpaints used here, which called for corn flour, cold water and boiling water (please click on the link to see the recipe). However, while theirs worked well, mine maintained a liquid consistency, and adding more corn starch just didn't seem to be working! In the end, I put it in the microwave for a minute and this finally allowed the mixture to thicken up. I then added my food colouring and it looked a little bit like this:
I stuck cardstock to Stanley's high chair tray and away we went. He was a little bit diddy (about 8 months) and I had to give him quite a lot of help and encouragement. Even using his fingers he didn't quite 'get' it, but he seemed to enjoy the feel (and a taste!) of the paint. The little boy next door was around 20 months and loved it, using a paintbrush to apply it to his paper, and mixing the colours together in their jars.
And while it was good fun, after I cleared their masterpieces away and allowed them to dry, I noticed that the paint started flaking away from the picture! Too much corn flour? Argh! So, it was time for another trial and another recipe. This one was similar to the first, but with the addition of salt and sugar - you can find the link to it here - and I found it worked much better for me. Also this time, instead of in a bowl, I warmed it on the hob and found it amazing as it changed from a milky liquid to an opaque wallpaper paste consistency. It was just as satisfying to work with and didn't flake once dried, giving a lovely 3D effect - although the colours were quite pale. Next time I would probably add more food colouring, but it might also have had something to do with the paints not being mixed very well on the morning of my first messy play session! We created masks for our pictures using masking tape and the babies finger-painted on top. Once the masking tape was peeled off, the effect, while subtle, looked great! Can't wait to try it again now Stanley is a little older. Watch this space!


Tuesday 14 January 2014

Love letters


My husband and I celebrated our second wedding anniversary towards the end of last year (we've actually been together for 12 years in total), so I felt the need to make him a card, of course! At the time I was working on a feature using Project Life cards, and I had found this fabulous free download by Lori Whitlock on the Becky Higgins website. It's a fabulous resource for creating a Project Life album but also, with a little bit of imagination, the freebies can look great on cards too. Keep your eyes peeled for more on this soon! Here I printed out the free download onto medium-weight cardstock and mounted by cutting tiny slits in the front of my card. So in actual fact, I didn't need any adhesive to attach it to the card. A homemade computer-generated 'Happy Anniversary' sentiment, clear gem and a die-cut bunting trim from the My Mind's Eye Kraft Funday Bright Days collection completed the look. My beloved *seemed* to like it, but he's had to act enthused about so many of my cards in the past, I think he's starting to flag a little bit bless him! Ahhh how lucky am I?

Thursday 9 January 2014

New year news

Hello - I'm back after taking a little break for the Christmas holidays. I just LOVE this time of year for quality family time, and I feel so lucky that my husband had a whole two weeks off work... although, I was ready for him to go back once January came around! Normal, no? Anywhoo, I'm back with a renewed sense of determination. Setting yourself up as freelance opens you up to being overlooked and left without any work for periods, but this is all part of the territory - success is being able to carry on regardless. I have experience in the industry as an Editor, so I'm blessed to be on my old magazine's Design Team, and my first few pieces of freelance work have already arrived in print. Here it is - I had a total of 8 cards in the magazine, across three different features. Seeing your cards in print never gets old, I'm always thrilled to see it! The magazine hit the shelves on 2nd January, so it's in stores now and on sale online at www.moremags.com... but if you want a sneak peek, see below!
Related Posts Plugin for WordPress, Blogger...