

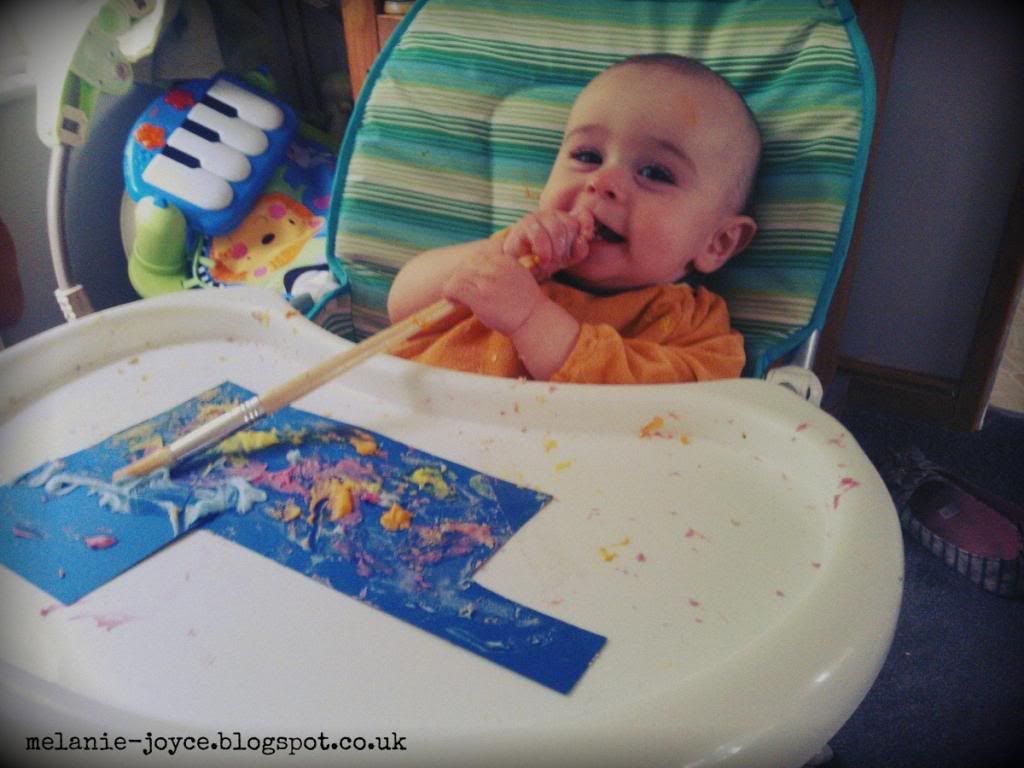
I stuck cardstock to Stanley's high chair tray and away we went. He was a little bit diddy (about 8 months) and I had to give him quite a lot of help and encouragement. Even using his fingers he didn't quite 'get' it, but he seemed to enjoy the feel (and a taste!) of the paint. The little boy next door was around 20 months and loved it, using a paintbrush to apply it to his paper, and mixing the colours together in their jars.
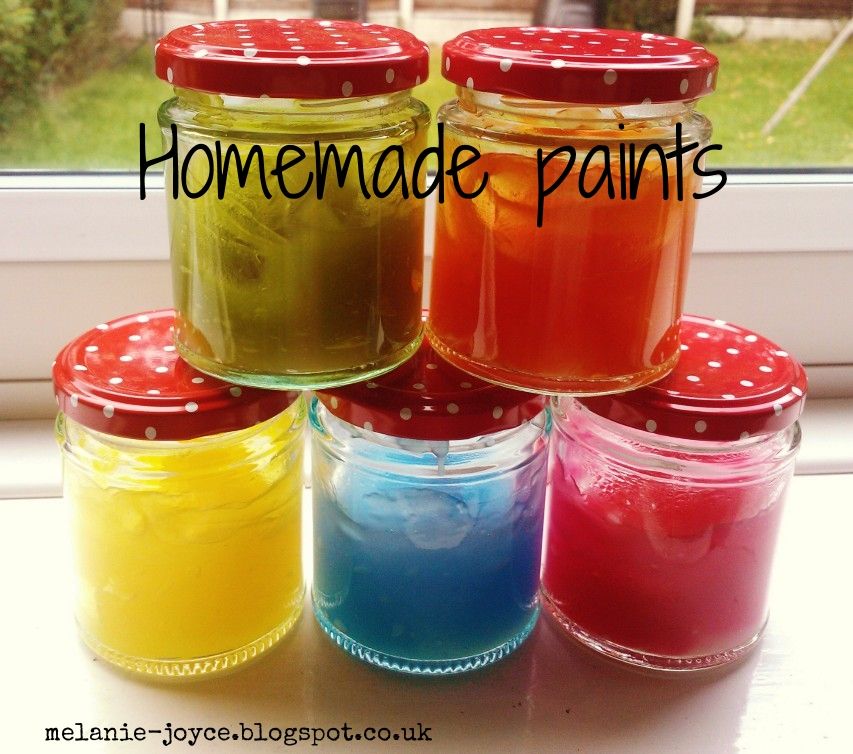
And while it was good fun, after I cleared their masterpieces away and allowed them to dry, I noticed that the paint started flaking away from the picture! Too much corn flour? Argh! So, it was time for another trial and another recipe. This one was similar to the first, but with the addition of salt and sugar - you can find the link to it here - and I found it worked much better for me. Also this time, instead of in a bowl, I warmed it on the hob and found it amazing as it changed from a milky liquid to an opaque wallpaper paste consistency. It was just as satisfying to work with and didn't flake once dried, giving a lovely 3D effect - although the colours were quite pale. Next time I would probably add more food colouring, but it might also have had something to do with the paints not being mixed very well on the morning of my first messy play session! We created masks for our pictures using masking tape and the babies finger-painted on top. Once the masking tape was peeled off, the effect, while subtle, looked great! Can't wait to try it again now Stanley is a little older. Watch this space!
No comments:
Post a Comment
Thank you so much for commenting :)